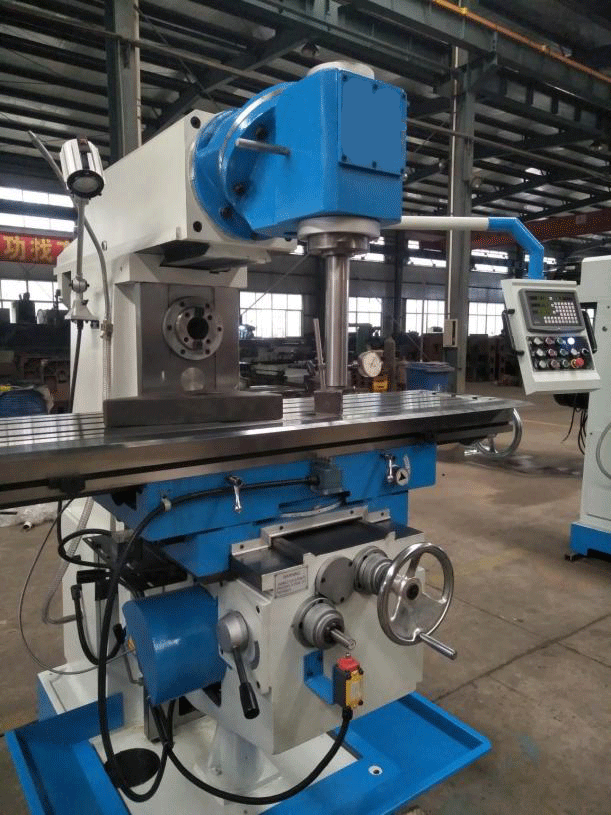
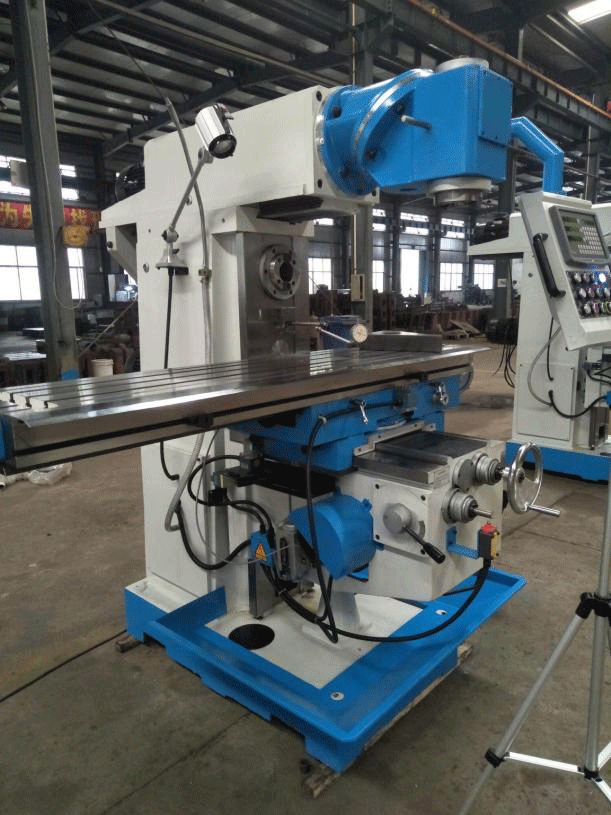
Why did the milling machine go through so many tests?
Australian customers trust our universal milling machine manufacturers to buy two
2017-04-12How do I check if the milling machine you purchased is qualified? let me tell you!(Continued)
2017-04-15Why did the milling machine go through so many tests?
Ordinary milling machine usually through the following test items: 1, noise test 2, absolute vibration and relative vibration test 3, thermal deformation test 4, static stiffness test 5, transmission efficiency test 6, vibration resistance cutting test 7, excitation test 8, position accuracy test 9, rotary precision test 10, linear motion uniformity test 11, transmission accuracy test 12, the processing accuracy test.

Why did the machine tool go through so many tests? Here we analyze some of these test items.
1.Noise is generally required at 83 dB. High noise will affect the health of the workers. The main reasons of lathe noise is: (1) bearing. Ordinary machine tools generally choose the bearing P5 level, the higher the bearing level the more accurate the worse. (2) gear transmission. Mainly due to the accuracy of the gear is not fine grinding caused by the processing, of course, there are transmission hole pitch error generated. (3) the milling machine is not installed in accordance with the installation standards.
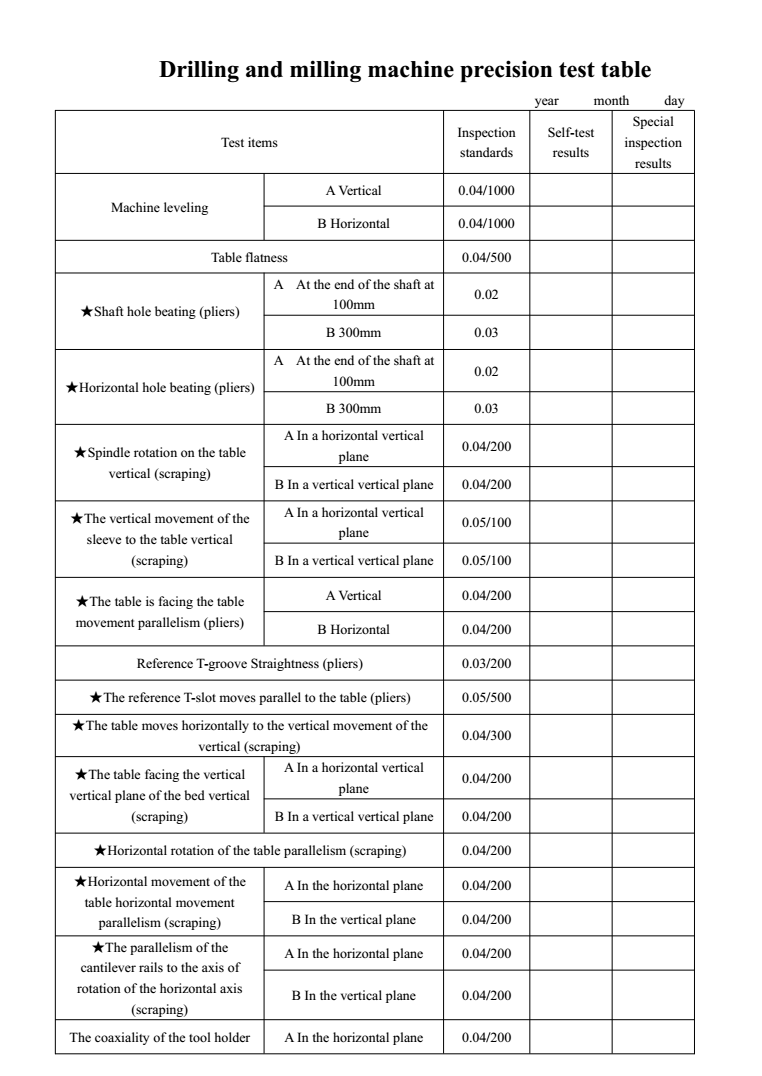
2.Spindle accuracy test. Usually milling machine spindle accuracy test shaft end beating can not exceed 0.005mm, check at 300mm required to control the following 0.03. This accuracy test is important because the spindle beating the assembly affects the machining.
3.Position accuracy test, that is, the corresponding accuracy of the machine tool inspection. Machine tools must go through the factory before the accuracy of detection. This test directly affects the milling machine in the processing of the workpiece, the size of the workpiece size greatly affected, it is difficult to achieve the overall size of the workpiece.
4.Milling machine thermal deformation test. This test is to check the accuracy of the milling machine in motion. This check is to ensure that the milling machine is machined in the length of the workpiece length of the workpiece, regardless of the detection X, Y, Z direction accuracy is to use this feature to ensure the workpiece size and plane size of the workpiece, so as to ensure the accuracy of the relative size of the workpiece. Reasons for the accuracy of this: (1) the workpiece material has not been aging or not heat treatment. (2) milling machine main workpiece processing accuracy is not high generated. (3) the workpiece scraping precision is not the greatest impact on this precision.
5. Cutting experiment. Detection of machine tools, installation, clearance, scraping and other comprehensive testing problems will be exposed in the cutting test, which is very important to the factory before the test.

