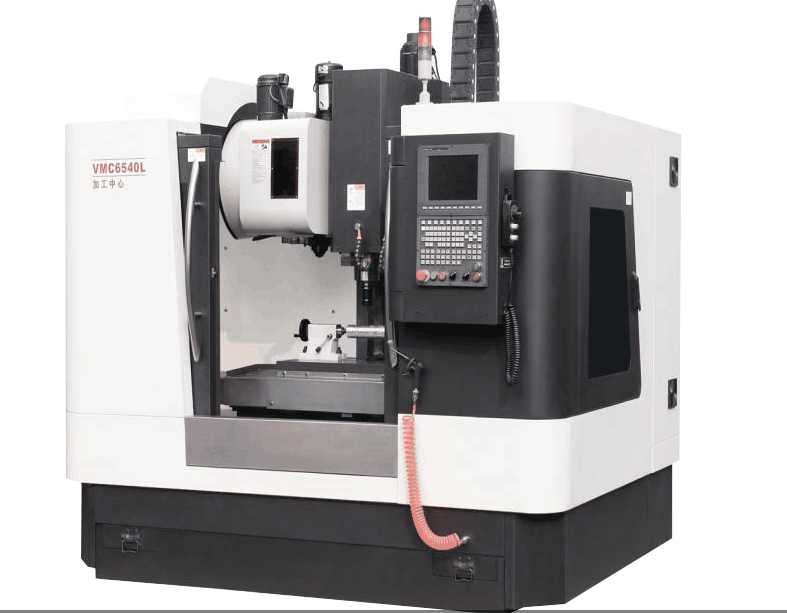
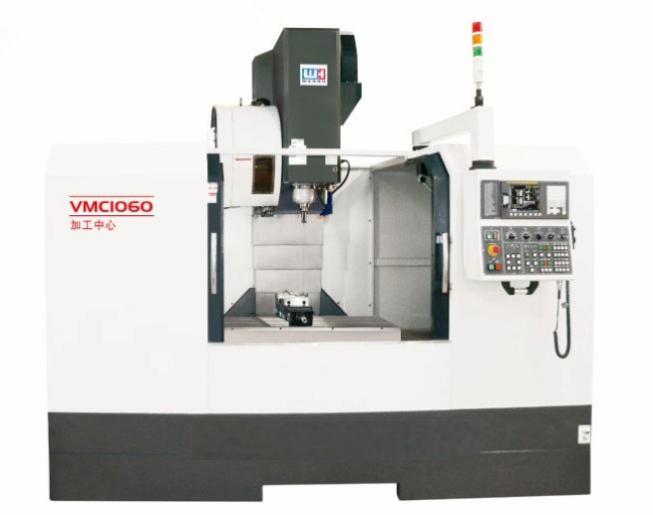
How to debug and check the machining center?
Do you know the advantages and disadvantages of vertical milling machines?
2017-04-202017 China International Machine Tool Show Order Arrangement
2017-04-21How to debug and check the machining center?
First of all, we have to clear what is the purpose of debugging machine tools. The purpose is to assess whether the installation of milling machines, transmission, operation, control and other systems are normal, sensitive and reliable.
The commissioning operation should be carried out as follows:
- Refuel the pump as required by the instructions to fill the hydraulic oil tank with the required hydraulic oil.
- Turn on the power and power on. Each part of the power supply or parts of a power test, and then fully power supply. Observe whether the alarm components, manual parts are normal, the safety device is working.
- Debugging. Ready to detect tools such as precision level. Fine tuning the level of machine tools, so that the geometric accuracy of the machine to achieve the scope of tolerance. The use of multi-point pad support, in the free state will be transferred to the level of the bed to ensure the stability of the bed after adjustment.

- Use manual override to adjust the position of the robot relative to the spindle. When installing the maximum weight of the handle, it is necessary to carry out the automatic exchange of the number of magazine to the spindle position, so that it is accurate and does not hit. And then test the main operating functions, security measures, the implementation of commonly used instructions. Check the attachment of the working conditions, such as machine lighting, cooling shield, a variety of panels and so on.
- Run detection. After the installation and commissioning of a machining center, due to its wide range of functions, after a certain load can be a long time under the automatic operation, more comprehensive check the machine function is stable. Running time can be run continuously for 8 hours per day for 2 to 3 days, or 1 to 2 days for every 24 hours. Continuous operation can be used to test machine procedures.
- Accuracy check. We commonly used precision inspection method is to install a workpiece above the milling machine, and then in the workpiece above the milling round (diameter of 100 or so). The circle is finished, and then the circle was measured in cross, to see how much error, the error within 0.012 for the normal.
Machining center operation points
As a skilled operator, must understand the processing parts of the requirements, process routes, machine characteristics, before the machine can be manipulated to complete the processing tasks. Therefore, the following finishing several operational points for reference.
In order to simplify each positioning surface of the positioning and mounting fixture, the machining center should have a precise coordinate size. To ensure that the installation orientation of parts and programming in the selected workpiece coordinate system and machine coordinate system direction consistency and directional installation. Can be demolished for a short time, into a fixture for the new workpiece.
The bottom surface of the fixture is in contact with the table. The flatness of the bottom of the fixture must be within 0.01-0.02mm and the surface roughness is not more than Ra3.2μm.
Application of fixture
In determining the process plan, a reasonable choice of positioning benchmark to ensure the machining center processing accuracy, improve the efficiency of the application center has a decisive significance. In the choice of positioning benchmark to fully consider the processing of the various stations, to achieve the following two purposes:
- The selected benchmark should ensure that the workpiece positioning accuracy, easy loading and unloading, rapid, reliable clamping, and fixture structure is simple.
- Determine the parts fixture in the machining center, the fixture task is not only clamping the workpiece, but also in the direction of the positioning surface as a reference to determine the origin of the workpiece programming. The high flexibility of the machine tool requires that the fixture be more compact and simple than the conventional machine tool, and that the clamping action is quicker and more accurate and minimizes the assist time. In the processing machine, in order to rational use of a good fixture. First of all, the machining center of the processing characteristics of a more profound understanding and mastery, but also consider the processing of parts precision, batch size, manufacturing cycle and manufacturing costs.
